
|
ABOUT THIS DOCUMENT:
This is the user's guide for a homework assignment for Game Programming class in college. I really enjoyed writing the mini-game. I think it may have been the first project where I felt that my software "came to life". TABLE OF CONTENTS: -Lee Bush, 2007 |
| Input | Action |
|---|---|
| W key | move forward |
| S key | move backward |
| A key | straff left |
| D key | straff right |
| Spacebar | jump |
| Mouse Movement* | look up/down/left/right |
| Page Up key | fly up |
| Page Down key | fly down |
| Escape key | show Main Menu |
| Input | When Pressed Once | When Pressed Twice |
|---|---|---|
| F1 key | First person, following Hero | no change |
| F2 key | Free-Roaming Camera | no change |
| F3 key | Third personm following Hero | no change |
| F4 key | Third person, following Bad Guy #1 | First person, following Bad Guy #1 |
| F5 key | Third person, following Bad Guy #2 | First person, following Bad Guy #2 |
| F6 key | Third person, following Bad Guy #3 | First person, following Bad Guy #3 |
| F7 key | Third person, following Bad Guy #4 | First person, following Bad Guy #4 |
| F8 key | Third person, following Bad Guy #5 | First person, following Bad Guy #5 |
| F9 key | Third person, following Bad Guy #6 | First person, following Bad Guy #6 |
| F10 key | Third person, following Bad Guy #7 | First person, following Bad Guy #7 |
| F11 key | Third person, following Bad Guy #8 | First person, following Bad Guy #8 |
| F12 key | Third person, following Bad Guy #9 | First person, following Bad Guy #9 |
WARNING: Do not jump when collision is disabled, or you will fall through the floor into an abyss!
| Key | Without Shift Key | With Shift Key |
|---|---|---|
| 8 | Shift box in positive x direction | Shift box in negative x direction |
| 9 | Shift box in positive y direction | Shift box in negative y direction |
| 0 | Shift box in positive z direction | Shift box in negative z direction |
| i | Increase max x value | Decrease max x value |
| o | Increase max y value | Decrease max y value |
| p | Increase max z value | Decrease max z value |
| k | Increase min x value | Decrease min x value |
| l | Increase min y value | Decrease min y value |
| ; | Increase min z value | Decrease min z value |
Press the 'm' key to select and move to the nearest existing Waypoint. After doing this twice, for two unique Waypoint, you can press the 'c' key to create a connection between them.
The 'n' key will create a new waypoint at the Hero Ninja's feet. By default, the newly created Waypoint will be connected to the last selected or created Waypoint. To enable/disable the auto-connection feature, press the 'b' key.
| Sneaking up on some Bad Guys. | 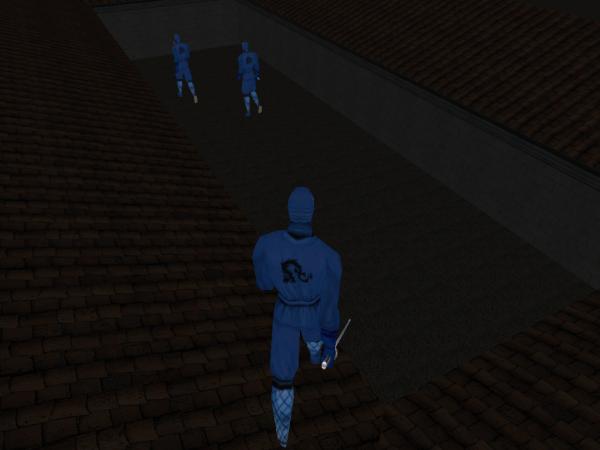 |
| Near the front of the Pantheon level. |  |
| Waypoints. These are the points and connections that the Bad Guys travel along. These are used for the pathfinding algorithms of their AI. |  |
| Collision Boxes. These are used for collision detection, to tell if you hit a wall or landed on a roof. |  |
| Pathfinding in Debug Mode. The green lines show you the path that the Bad Guys have chosen to take. |  |
| Camera following behind Bad Guy. |  |
| The Main Menu. You can access this by pressing escape. Use the arrow keys to select the choice you want and then press the Enter key. Pressing escape again will exit the menu. |  |
| Save Changes Menu. Before you quit the game, you are asked whether or not you want to save the changes to the level. If you choose to save changes, the following are saved:
|  |